Do Eyelashes Grow Back – Good Health Prevails

(c) to the owner of the Image.

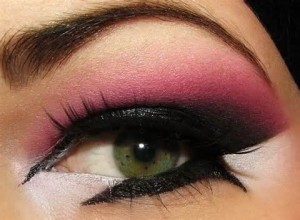
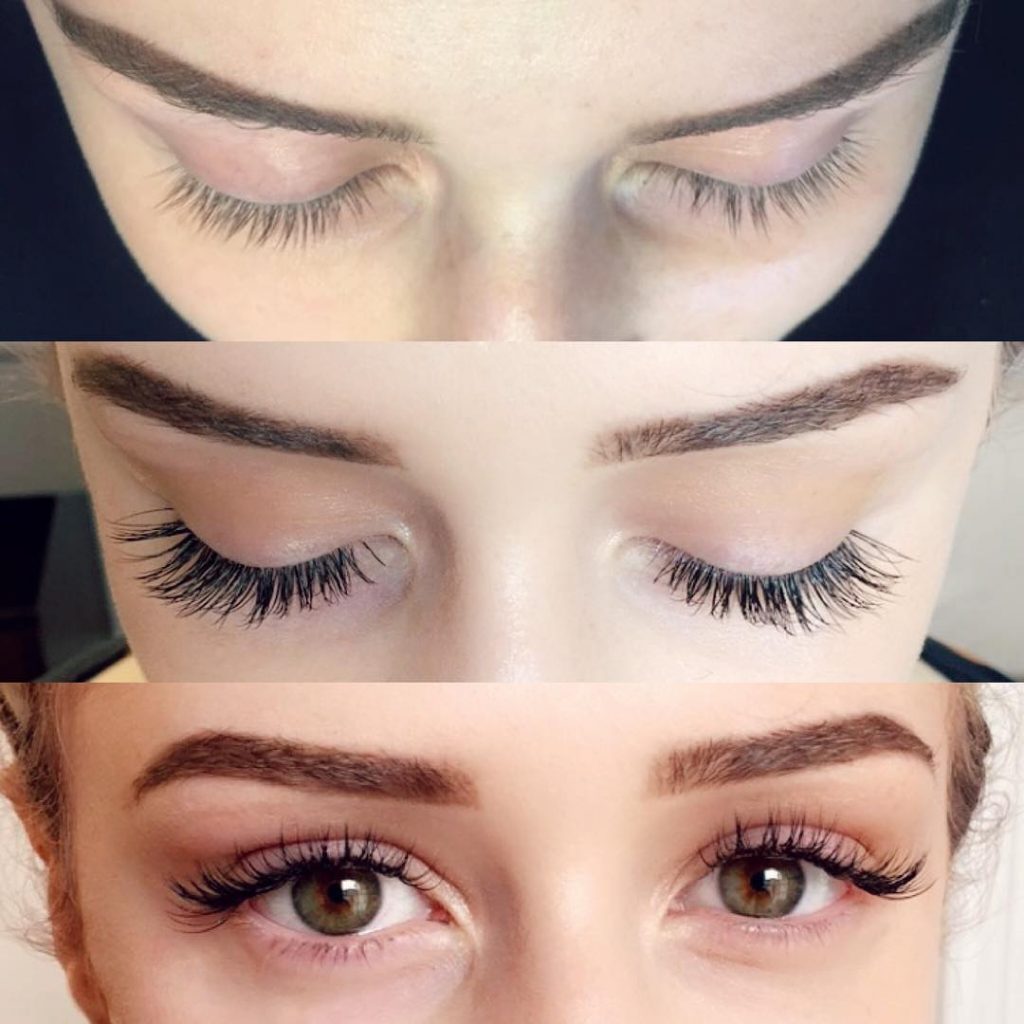
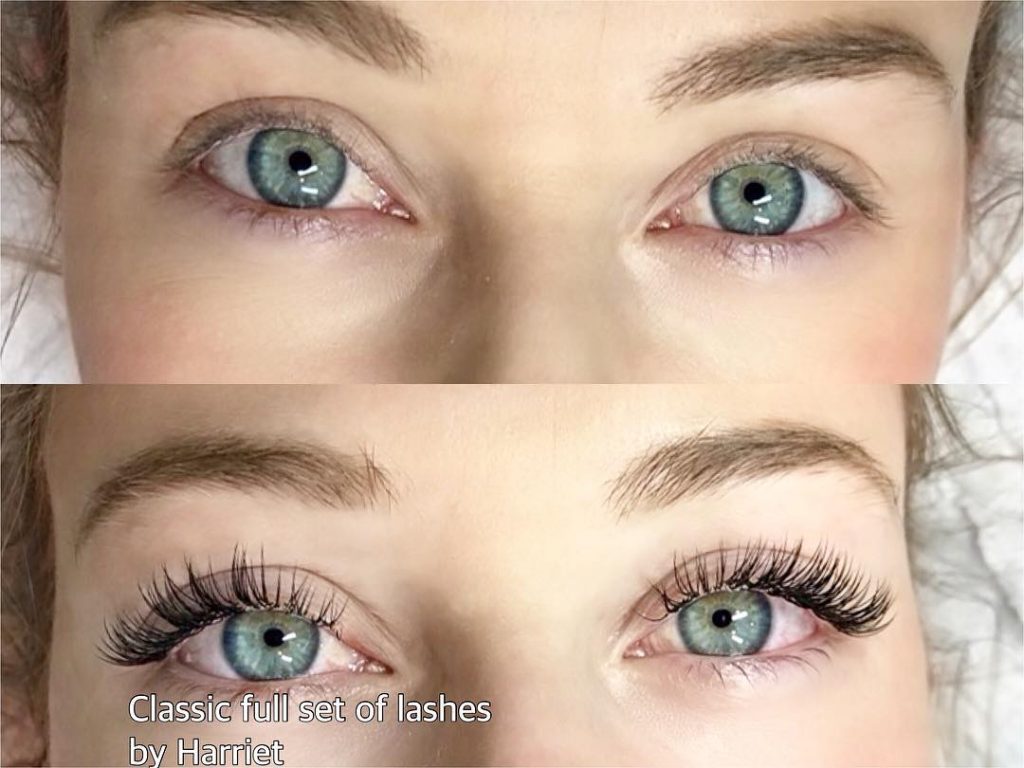
While most of us think of eyelashes as only another feature that can draw attention and add beauty to our eyes, they actually serve a very important purpose, they protect our eyes from dust, sweat and other foreign materials. If you have some accident or medical issue and you’ve lost your eyelashes, you are probably wondering: do eyelashes grow back?

Eyelashes, just like all the other hair on your body, do have their own unique life stages. They will grow, fall off and more will be regrown. They do shed and break off in between the growth cycles but if you maintain good overall hygiene, you can keep that to a minimum.

There is a name for each unique phase: anagen, catagen, and the telogen. The anagen phase is when your eyelashes grow. This phase will last almost two months, about 7 weeks. At any given time you’ll have about 1/3 of your eyelashes in this growth phase.

The catagen phase is the phase when the growth is on hold for about 3 weeks. And last, but not least, the telogen phase. This is the phase when your lashes will fall out.

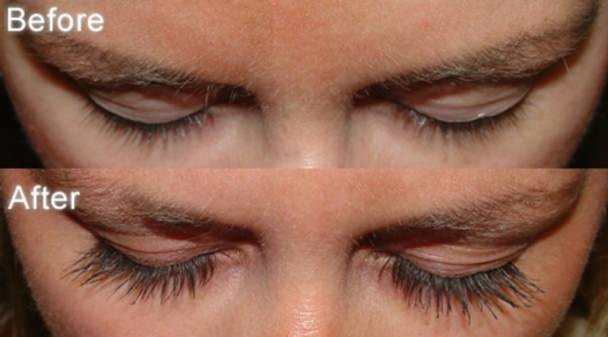
Obviously, since under normal circumstances you never lose all your lashes at the same time, the answer to the question: ‘do eyelashes grow back’ would be ‘yes’. You will have some eyelashes in each of these three stages at all times.

The growth rate will vary from person to person. One of the best things you can do to increase your own growth rate is to avoid those things which are bad for you. Cut back on alcohol intake, stop smoking, eat plenty of nutritious foods and drink plenty of water. By keeping your body healthy on the inside, you can increase the growth of your eyelashes on the outside.

Of course, if you have suffered some sort of trauma or damage to your face or you are under enormous stress or other conditions that threaten your health, this normal growth stage can slow down or even stop. Eyelashes are hair and just like the hair on your head if you apply harsh chemicals too often that can have a negative impact on the growth. This can usually be reversed with a little time and TLC.

If you find you are not regrowing your eyelashes you should take a trip to your doctor. This lack of growth is very likely a sign of some underlying health issue. That doesn’t necessarily have to be serious, but it should be taken care of, and not just for the sake of your eyelashes.

More often than not, you can simply take some vitamins, eat better, get enough sleep and cut back on some of the garbage you put in your body and you will see an increase in growth.

So, do eyelashes grow back? Yes, they do, but only if your body is healthy enough to do its job properly. And don’t forget, just like the hair on your head gets damaged with too much styling, the same can hold true for your eyelashes. If you’re good to your eyelashes, your eyelashes will be good for you.


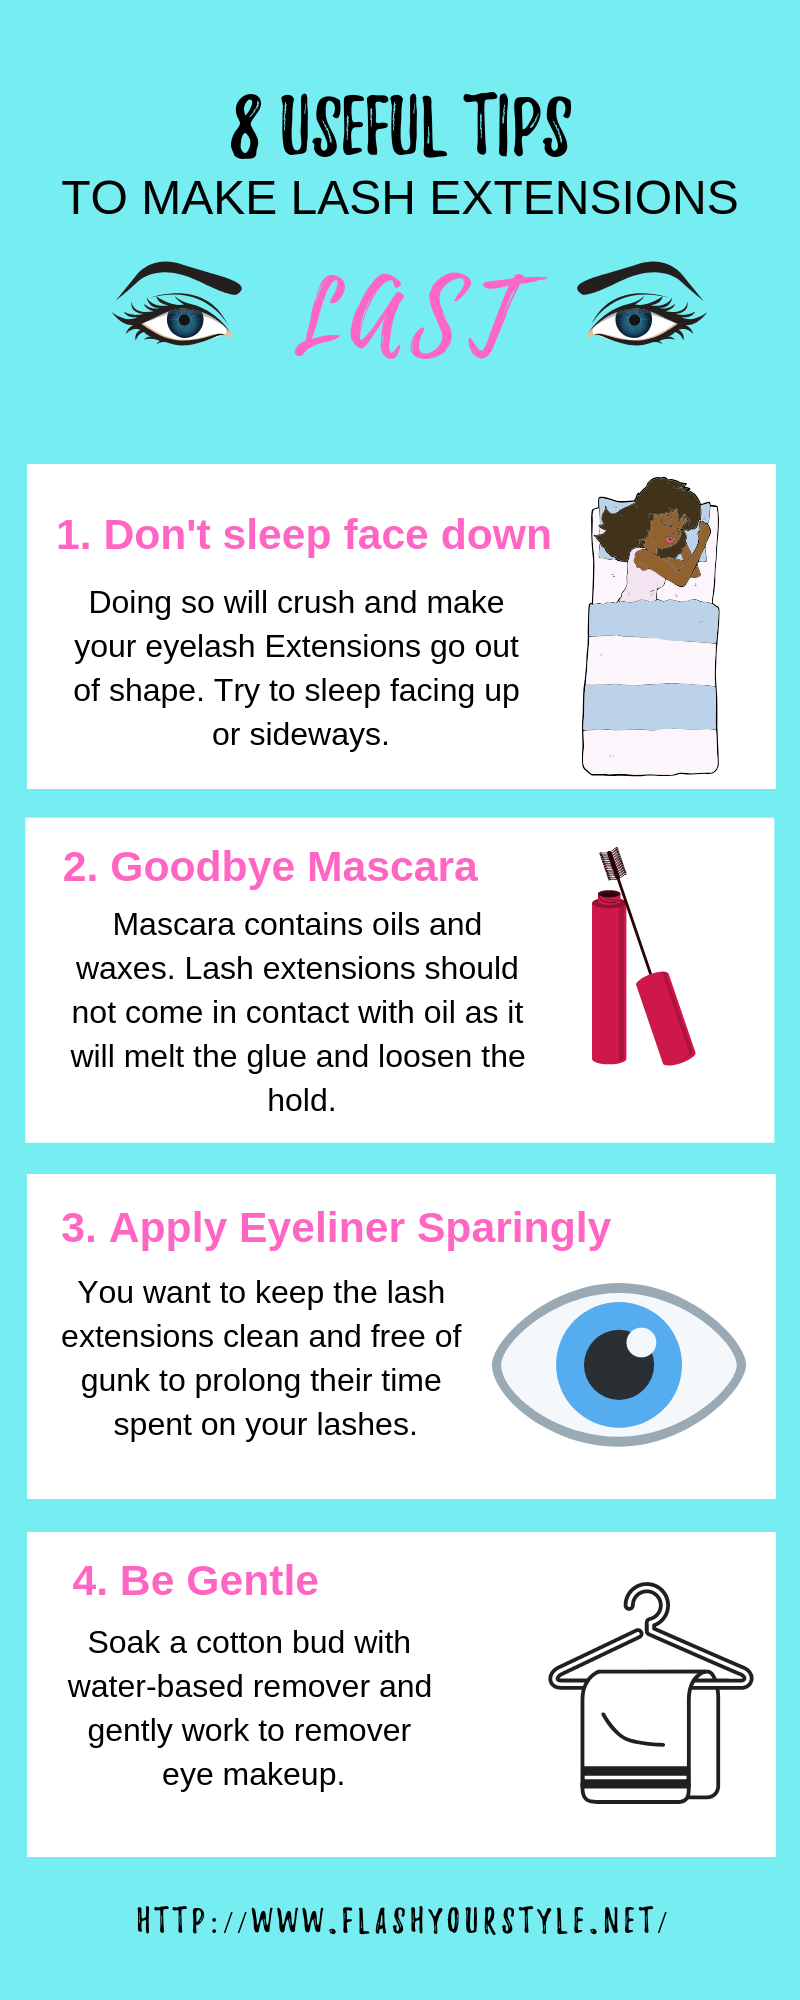
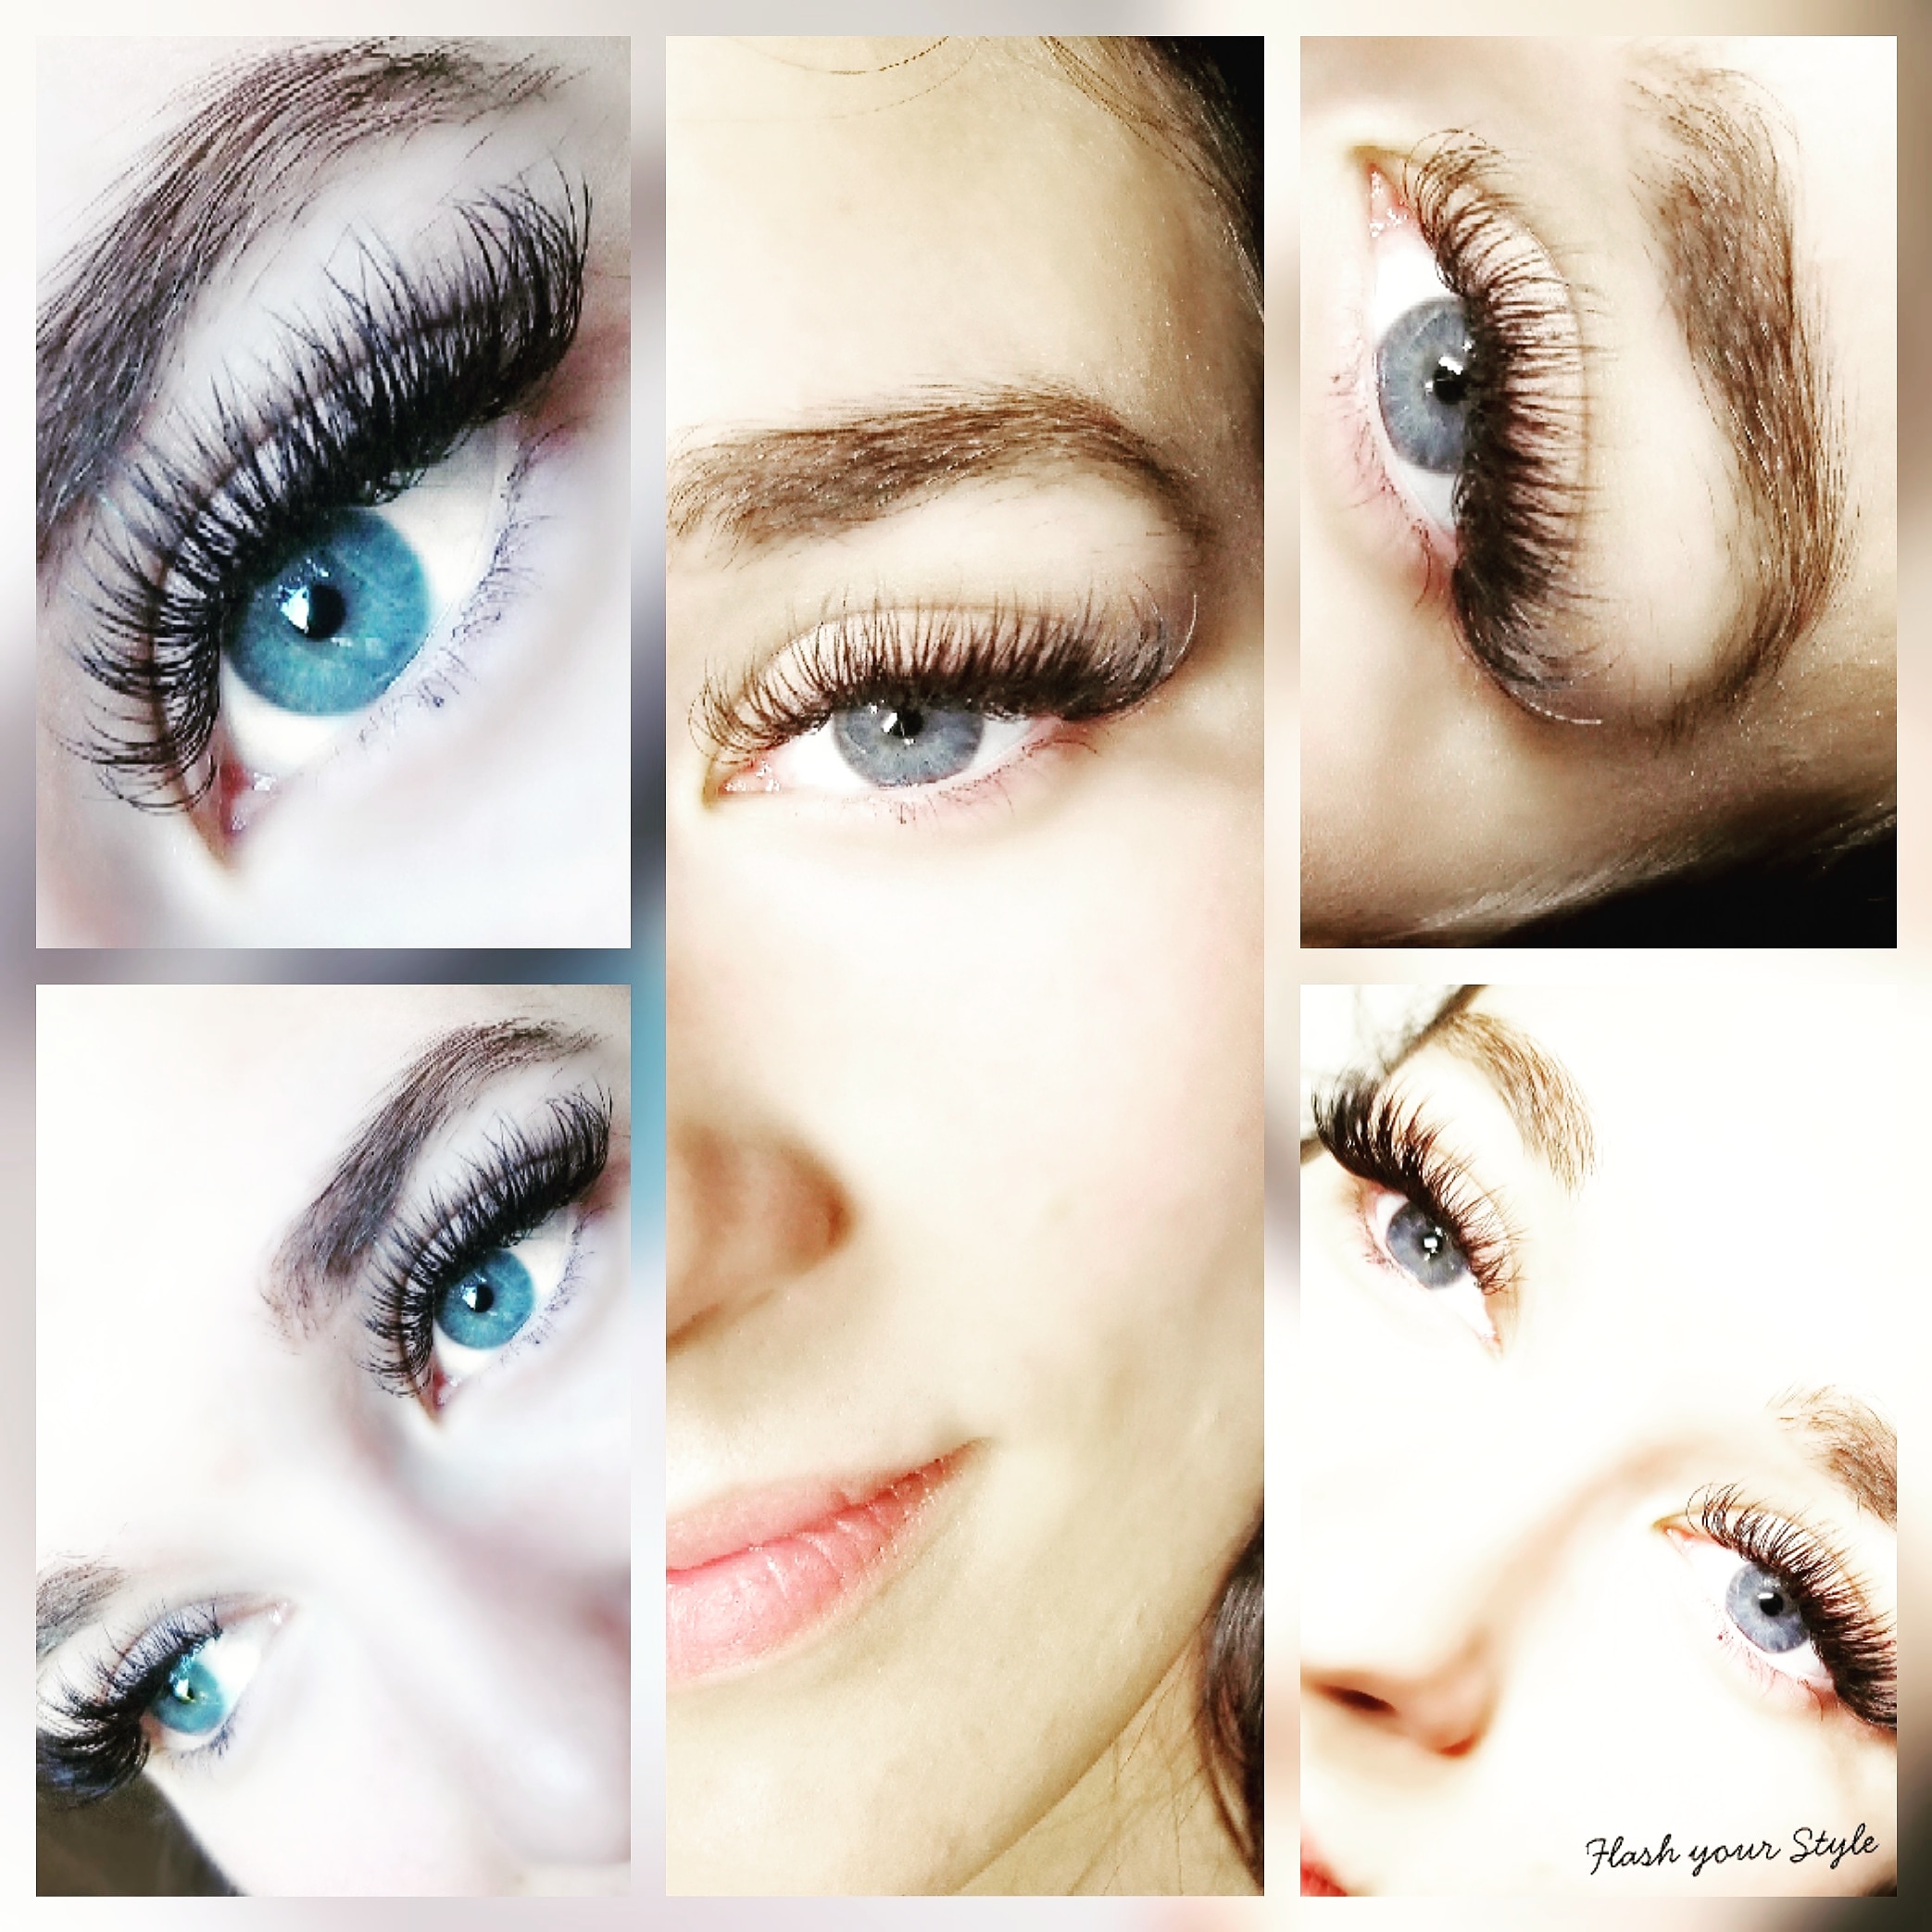
For more Beauty Hack tips, like our Facebook Page Flash Your Style Page

Link here –> Flash Your Style Page

You can also join our other Facebook groups:

?‍?Social Media Lash Tips??

Fibroblast USA Professional Group

Online Microblading & Fibroblast Training Worldwide Flash Your Style

Online Microblading & Fibroblasting Training WorldWide

Eye Makeup Tips – How To Apply Eyeliner

In this blog, we will take a look at how to apply eyeliner with some tips on achieving some great effects.


One stunning effect that can be achieved easily and a favorite of such well-known actresses from Marlene Dietrich and Marilyn Monroe to Gwyneth Paltrow is rimming the eyes with either a white or beige eye pencil. This has the effect of enlarging the white of the eye to create a seductive, alluring look.

To apply the eye pencil, pull your lid away from the eye very gently using one or two fingers and draw a line along the inner eye rims. Do the same with both the upper and lower lids. To make a sharpened pencil softer and easier to apply, you can draw a few lines first on the back of your hand. This will soften the tip and get the color flowing.

Kohl can be applied in the same way with sensational effect. The use of kohl goes back to ancient Egyptian times and is characteristic of eye makeup in the Middle and the Far East. Apply your kohl pencil as described above to both the upper and lower rims, from corner to corner. Then, using either a sponge-tipped applicator, eyeshadow brush, or even your fingertip, blend the color by smudging it to create a smoky effect.

Once you are satisfied with the appearance, you will need to set it by using a light application of loose powder. For an even stronger, more intense effect, apply your preferred color around the eyes in either cream, liquid or powder form.

If you want to use liquid eyeliner, once you’ve mastered the technique of applying it, this can be a quick method of achieving a stunning and sophisticated look. But applying liquid eyeliner can take a little practice.

To begin, it’s best to be in front of a good magnifying mirror, so that your eyes are magnified sufficiently to see very clearly what you are about to do and ensure a smooth application of the liquid eyeliner. Then, using your free hand, start by pulling the eyelid taut. If you’re right-handed it’s probably easiest for you to start applying the liquid from left-to-right, as if you are writing, and vice versa if you are left-handed. Draw across in a single continuous fine line. If you want a thicker line then, at the end of the run, simply retrace.

A tip when applying liquid eyeliner is to apply it as close as possible to the eyelashes, even running into the eyelashes. This will avoid you getting that annoying white line effect between the lashes and the liner when the two don’t meet.

Applying liquid eyeliner does take some practice, so have a bottle of makeup remover to hand until you are confident in the technique.

As they say: “practice makes perfect”, and with a little perseverance and a steady hand you’ll soon be achieving some great effects.

For more Beauty Hacks tip, like our Facebook Page Flash Your Style Page

Link here –> Flash Your Style Page

You can also join our other Facebook groups:

?‍?Social Media Lash Tips??

Fibroblast USA Professional Group

Online Microblading & Fibroblast Training Worldwide Flash Your Style

Online Microblading & Fibroblasting Training WorldWide

8 Useful Tips To Make Eyelash Extensions Last


8 Useful Tips To Make Eyelash Extensions Last

1. Don’t sleep face down

Doing so will crash and make your eyelash Extensions go out of shape. Try to sleep facing up or sideways.

2. Goodbye Mascara

Mascara contains oils and waxes. Lash extensions should not come in contact with oil as it will melt the glue and loosen the hold.

3. Apply Eyeliner Sparingly

You want to keep the lash extensions clean and free of gunk to prolong their time spent on your lashes.

4. Be Gentle

Soak a cotton bud with water-based remover and gently work to remover eye makeup.

5. Stash the Lash Curler

Lash Extensions are durable, but not indestructible. So don’t go test their limits by crimping your lashes.

6. No Cotton Pads

Getting cotton fibres stuck on lash extensions is a nightmare. Use a cotton bud with a precise tip to get to hard-to-reach areas.

7. Resist the Urge to Rub

Rubbing will case fallout. If you have eyelash extensions on, you’ll naturally kick that rubbing habit.

8. Blow Dry with Cool Air

Use a blow dryer on cool setting to fan your lashes back in place. Blow them for 10 seconds each eye.


For more eyelash Tips, join our Facebook group ?‍?Social Media Lash Tips??

Link here –> Social Media Lash Tips??

You can also join our other Facebook groups:

Flash Your Style Page

?‍?Social Media Lash Tips??

Fibroblast USA Professional Group

Online Microblading & Fibroblast Training Worldwide Flash Your Style

Online Microblading & Fibroblasting Training WorldWide


Facts About Your Eyelashes

Here is some list of facts about your eyelashes:

1. They fall out daily.

Actually, anywhere from one to five will drop out each day. And at three months, an eyelash’s growth cycle is much shorter than the hair on your head — which is one reason why they don’t grow very long.

2. There’s a big difference between your upper and lower lashes.

The hairs on your top lid are much fuller than your lower lashline. In fact, they’re almost twice as full with about 200 to 300 lashes. (Your lower lid has about 100.)

3. They protect your eyes.

Like our eyebrows, the tiny hairs on our lids keep dirt, sweat, water, and other unwanted debris out of the way. Too bad they sometimes fall into your eye themselves, Unfortunately, they sometimes fall into your eye causing a stray hair fall into your eyeball.

4. Lashes grow in three periods.

There’s the anagen phase (active growth period), the catagen phase (transitional period), and the telogen phase (resting period). And at any given time, 90% of your lashes are in the active growth stage where they grow about .16 millimeters a day. So, if you cut your lashes they will grow back… it will just take about five months.

5. The longest eyelash on record was 2.75 inches long.

Actually, it was 6.99 centimeters to be exact. And believe it or not, a guy holds this record. In comparison, the average lash length is about 10 millimeters.

6. They vary in length, too.

The middle lashes are generally much longer than the sides.

7. Tiny mites live in your eyelashes.

But don’t worry — you need them. Called Demodex, they remove dirt and debris and help clean your lash follicles. (A clogged lash follicle can lead to a painful sty, so be thankful for those tiny bugs!)

8. Embryos Have Lashes, Too

The human embryo actually begins developing eyelashes between the 7th to 8th week of pregnancy!

9. Eyelashes Die and Rise Again

It typically takes an eyelash around 45 days to grow, which is why it typically takes over a month for you to see results with eyelash growth products. Once the lashes are done growing, they tend to stick around for around 120 more days and then they fall out and the whole process begins again.

10. Eyelashes Have a Limit

Unlike the hair on our head – which can grow seemingly endlessly – eyelashes have a set limit that differs from person to person.

The only way to extend the length and expand the fullness of your eyelashes is to use eyelash growth products that work. Check out the best ones here!


Like, Share, and Follow us on Facebook:


Flash Your Style Page

?‍?Social Media Lash Tips??

Fibroblast USA Professional Group

Online Microblading & Fibroblast Training Worldwide Flash Your Style

Online Microblading & Fibroblasting Training WorldWide

The Best Make Up Ideas For Green Eyes

What will you think of the moment you see the green color? It may remind us of life and the pure beauty of nature. Just like what the color of green tells us, green eyes are amazing and pure as well. Yet how to highlight their beauty is really a piece of artwork! If you are the lovers of green eyes, you should really take a good look at this post, because we are going to tell you how to enhance the fairness of your pretty green eyes with the best eye makeup ideas and most appropriate eyeshadows.

Bronze add charm to the clean green eyes and make the eyes look nobler.

Best Eye Makeup Ideas for Green Eyes: Versatile Bronze

Sophisticated Copper

Copper turn the green eyes into a sophisticated one and is suited for all occasions.

Best Eye Makeup Ideas for Green Eyes: Sophisticated Copper

Cute Purple

Green and purple, full of life! So Cute!

Best Eye Makeup Ideas for Green Eyes: Cute Purple

Cool Silver

Silver eye shadows allow the green-eyed beauties to be cool and chic any time.

Best Eye Makeup Ideas for Green Eyes: Cool Silver

Light Eyeliners

Apply light eyeliners or even skip over the black liners, bring your green eyes to the most natural state.

Best Eye Makeup Ideas for Green Eyes: Light Eyeliners

Fresh Green

Go for an oh-so-fresh look with darker green eyeshadows. That will make your green eyes more stunning!

Best Eye Makeup Ideas for Green Eyes: Fresh Green

Peachy Blush

Apply a spot of peachy blush on your cheeks so that the look will be more adorable.

Best Eye Makeup Ideas for Green Eyes: Peachy Blush

Blended Pink and Plum

The plum and pink are gorgeous for green eyes, and they are more suited for night occasions.

Best Eye Makeup Ideas for Green Eyes: Blended Pink and Plum


What’s your eye color? Share us now so we can make a blog just for you! Don’t forget to follow us on our page and Facebook groups:

Flash Your Style Page

?‍?Social Media Lash Tips??

Fibroblast USA Professional Group

Online Microblading & Fibroblast Training Worldwide Flash Your Style

Online Microblading & Fibroblasting Training WorldWide

Beginners Guide to Eye Makeup


Are you a beginner in makeup?

That’s alright, We’ve all gone through that, not knowing what brush to use, where to apply eyeshadow, let alone how to blend properly. But don’t worry, we’ve got your back! This makeup tutorial will help any beginner learn how to do eye makeup correctly and beautifully from here on out.

Are you ready to learn some insider tips and tricks about eye makeup application? If YES, keep reading!


Step 1

Always start with an eye primer.

Eye primer helps create a smooth surface for the eye makeup. Once the primer has dried, you can apply an eyeshadow base that helps make the eyeshadow stick to the skin better. If you don’t have an eyeshadow base, a concealer or foundation will do.

Eye Makeup 02

Step 2

Start with 4 basic shades.

For beginners, you want to start with 4 basic shades to pull off an everyday natural look. You need a highlighter that is a shade lighter than your skin tone, a matte mid-tone shade, a contour shade that is 2-3 shades darker than the skin and a matte black shade. If you have a facial highlighter, you can use that too.

Eye Makeup 03

LEARN WITH A BASIC EYESHADOW PALETTE FIRST.

Step 3

Grab the essential eye makeup brushes.

You will need a small flat eyeshadow brush for application, a small and medium-sized blending brush and a smudger (optional).

Eye Makeup 04

GET THE RIGHT EYE MAKEUP BRUSHES.

Step 4

Glide your flat brush on the lightest shade and apply this on the inner corner of the eyes. This is where most of the product should be and then you can easily blend outwards after.

Make sure to tap your brush before applying to remove excess product.

Eye Makeup 05

APPLY THE HIGHLIGHTER IN THE INNER CORNER OF THE EYES.

Step 5

Here’s a neat trick you can try: Dip the tip of the brush in water enough to dampen it. Then glide it on the eyeshadow and apply again in the inner-most corner of the eyes (tear duct area). You’ll be amazed at how pigmented it is.

Eye Makeup 06

USE THE DAMP BRUSH TRICK TO GET MORE COLOR.

When you’re done with that, use the same color and highlight the arch of your eyebrows.

Eye Makeup 07

HIGHLIGHT THE EYEBROW FOR A DEFINED ARCH.

Step 6

Now on to the mid-tone shade. Use a blending brush to apply the eyeshadow above the crease, blending from the outer corner inwards.

Eye Makeup 08

WORK ON YOUR CREASE.

How will you know you didn’t overdo it with the shadow? Hold your brush at the edge of your nose going up to the edge of the eyes. Anything below the line should be clear.

Eye Makeup 09

USE THIS TRICK TO CHECK IF YOU HAVE ENOUGH EYE MAKEUP ON.

Step 7

Contour the eyes.

Using the contour shade, apply from the outer corner while blending into the crease on the outer half of the eye. Please make sure that you don’t blend too high because the mid-tone shade should always be higher than the contour shade.

Eye Makeup 10

CONTOUR THE EYES FOR ADDED DEPTH.

Step 8

Your eyelid makeup is done so you can now proceed to the bottom part of the eye. Mix the mid-tone color and the contour shade and apply on the bottom lash line starting from the outer corner until it meets the highlighter.

Eye Makeup 11

FILL IN THE BOTTOM LASH LINE.

Step 9

To complete the look, apply the matte black eyeshadow on the outer corner of the eyes and close to the bottom lash line. This will make the eyes a little more dramatic.

Eye Makeup 12

USE BLACK FOR MORE DRAMA.

Step 10

But of course, it won’t look as pretty if your lashes aren’t curled…

Eye Makeup 13

CURL THE LASHES.

then mascara…

Eye Makeup 14

USE A MASCARA SHIELD TO PREVENT IT FROM TOUCHING THE FACE.

eyeliner….

Eye Makeup 15

ADD EYELINER FOR MORE EYE DEFINITION.

and with practice, false eyelashes too!

Eye Makeup 16

WEAR FALSE EYELASHES FOR EXTRA DRAMATIC EYES.

As you can see, this basic natural eye makeup is quite easy and with some practice, you’ll be able to master it. Once you do, blending colors and creating new looks will be as easy as eating pie!

For more tips, you can like and join our facebook groups

Flash Your Style Page

?‍?Social Media Lash Tips??

Fibroblast USA Professional Group

Online Microblading & Fibroblast Training Worldwide Flash Your Style

Online Microblading & Fibroblasting Training WorldWide

The Best Lashes For Your Eye Shape | Flash Your Style

The Best Lashes For Your Eye Shape 


Ever think false eyelashes look extra false on some people? And yet others seem to pull them off with ease? According to some of the eyelash artists, certain styles complement particular eye shapes better than others. To help you find the perfect lashes for your eye shape (whether they’re pharmacy-bought or professional mink extensions) we search six experts for their advice.


“I always take my client’s eye shape into consideration before I apply a single lash. Everyone’s eyes are unique and their lashes should be too! For example, hooded eyelids have an extra layer of skin that sits over the crease, making the lids appear smaller. For this eye shape, we recommend a style that has longer lashes in the centre of the eyes to open them.

Close-set eyes, on the other hand, don’t have a lot of space between them. To make them appear wider, it’s best to use natural looking lashes that are shorter at the inner corners of the eyes and longer lashes toward the outer corners. Round eyes have the same width and height. This eye shape looks best when longer lash extensions are applied to the outer corners of the eyes, creating a natural cat eye effect.”
– Jennifer Mahon, The Brow Artist

Photo credit: Instagram @lashesbyjennifermahon


“Your eye shape is definitely a big factor in finding a lash look that will complement you. Every set of lashes I complete are tailored to that specific client. Bigger is not always best! A lot of aspects come into play when deciding what look will work and more importantly, what will last. This is why a good consultation is essential! Make sure your technician knows what look you are hoping to achieve and together you can decide what will be the best option!”
– Olivia Fitzsimons, Olivia Fitzsimons Beauty

Photo credit: Instagram @oliviafitzsimonsbeauty


“Lash extensions are not a ‘one size fits all’. Your eye shape should definitely be taken into consideration by your lash artist. Round eyes and almond shape eyes will need accentuating at different points, as will downward or upward sloping eyes. This should be thoroughly discussed in your consultation, as should the health of your natural lashes and your overall desired effect.”
– Rachel Bryan, Claudine King

Photo credit: Instagram @claudinekingbrows


“I always take my clients eye shape and lifestyle into consideration when applying lashes. If a client does not wear a lot of make-up and has short, natural eyelashes she will look ridiculous with very long, thick extensions. My pet hate are lashes that overpower the face. Extensions should enhance your eyes and face – I do not like ‘over done’ extensions where, when you meet someone, all you see are their lashes.
Almond shaped eyes suit most lashes, however other eye shapes can require a little more thought. For hooded eyes, I like a tapered look – curled at the outside edge and lengthening towards the middle, then tapering down again. This creates the illusion of depth. Round eyes suit a long, wispy lash that is slightly winged at the edges to elongate the shape. For deep set eyes, longer, thicker lashes will add balance to the face and ‘open’ the eye.”
– Susan Fox, Eden Beauty Group

Photo credit: Instagram @edenbeautygroup


“Eye shape definitely matters. If you have deep set eyes or small eyes we would use different lash lengths, curls and thicknesses. On consultation, I’ll recommend lashes to suit each eye shape and clients expectations.”
– Zanda Wait, Burgundy Beauty (no Image available)


“Here at the Blink Bar, we advise different shapes and styles to suit each client’s eye. Some lash extensions, if applied wrong, can make the eyes appear more tired and down-turned. Our goal is to make the client look awake and lifted.”
– Harriet Mackey, The Blink Bar

Photo credit: Instagram @the.blink.bar


Harriet Mackey, Jennifer Mahon, Olivia Fitzsimons, Rachel Bryan, Susan Fox, and Zanda Wait are nominated for Best Eyelash Artist in this year’s IMAGE Business of Beauty Awards.


Eyelash Extension Training

Come and learn! One day hands-on workshop!

Eyelash Extension Training Class and Certification!

Class comes with a fully stocked kit, enough to start your business!

Click this link to join https://www.flashyourstyleofficial.com/lashextension-optin

More questions? Email us at flashyourstylebeauty@outlook.com and don’t forget to join our Social Media Lash Tips on Facebook for more Eyelash Extension Tips!

Taking Care of Your EyeLash Extension | Flash Your Style Best Tip

I guess you’ve got brand new eyelash extensions? After purchasing our EyeLash Extension you might be wondering on how to take care of your EyeLash Extension. Now it’s time to learn how to keep them looking perfect for as long as possible! After all, you don’t want to have them fall out too quickly, wasting the time and money that you spent having them applied – and you definitely don’t want to worry about them falling off unevenly, leaving you with lush lashes on one eye and naturals on the other, right?

Here are a few tips to keep your lashes lush:

1. Avoid rubbing your eyes


This is one has got to be the toughest tip of them all, we often rub their eyes without thinking about it. However, doing so can break the bond between your natural lashes and your extensions, causing them to fall out prematurely.

2. No oil free? Don’t use it


Don’t use makeup and other face products that aren’t oil-free. The oils in makeup, moisturizers, cleansers and other products can interfere with your eyelash extensions, severing the bond that keeps them attached to your natural lashes. If your regular moisturizer contains oil, and you just cannot live without it, we understand. Just make sure that it doesn’t get anywhere near your fabulous new eyelashes!

3. Comb your eyelashes


If you don’t already have one, get yourself an eyelash comb and make sure to comb through your lashes at least twice a day, once in the morning and once in the evening. This keeps them looking nice and neat, and prevents them from getting tangled up. But remember! Comb gently. You don’t want to comb your eyelash extensions right off!

4. Do NOT Pump the Wand


Pumping the mascara wand in and out of the tube is a sure-fire way to dry out your mascara very quickly. Instead, swirl the brush around in circles inside of the tube to get the most mascara possible on the wand without drying out the formula.

5. Don’t use waterproof mascara


Or, any waterproof makeup at all, for that matter! The scrubbing required to remove stubborn waterproof makeup will damage your new eyelashes, not to mention most waterproof makeup isn’t waterproof. In fact, you may need no mascara at all once your extensions are on, make sure your eyeliner, primer, or eyeshadows aren’t waterproof.

And, our last most important tip!


Don’t forget – in order to maintain the most fabulous lashes possible, you’ll need to get your extensions filled on a regular basis. Ask your Flash Your Style stylist when you’ll need to have yours filled and be sure to book regular appointments with our online form or by calling: (509) 572-2777


Eyelash Extension Training

Come and learn! One day hands-on workshop!

Eyelash Extension Training Class and Certification!

Class comes with a fully stocked kit, enough to start your business!

Click this link to join https://www.flashyourstyleofficial.com/lashextension-optin

More questions? Email us at flashyourstylebeauty@outlook.com and don’t forget to join our Social Media Lash Tips on Facebook for more Eyelash Extension Tips!